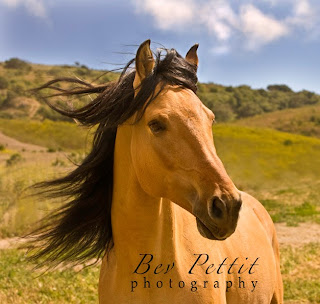
 The original needs a little space added to the right:
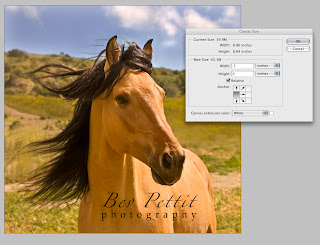
 Add space to the right by increasing Canvas Size:
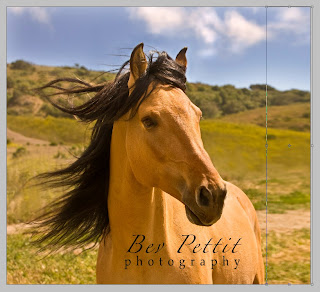
 Space has been added and the selection is stretched:
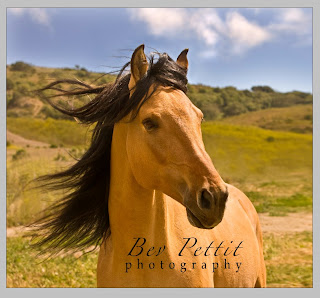
 Final image with space added:
Extend an Image in Photo Shop
There may be times when you’ve cropped your image a little too tight in the camera when you’re framing a photo. You may want to add more room to one side of a photo or you want your image to fit a certain aspect ratio on your page.
Here’s how you extend your image:
1. Duplicate your background layer. (Command J on a Mac. Ctrl-J on a PC.) Make sure your duplicate layer is chosen for the next step. First, you’ll be adding on to your canvas size (NOT the image size). Choose Canvas Size from the Image menu. In the Canvas Size Dialog Box click on the left-most center Anchor Point.
2. Next you’ll add your extra half inch to the Width, so type the number “.o5” into the Width box. Make sure your drop down box to the right is set to inches for this exercise (you can set to points or pixels or whatever you choose later). Since you are working on a duplicate layer your added pixels will be transparent.
3. Using your rectangular marquee’ tool, select an area to the right of the image. Be sure to select from top to bottom. This is the area that will be stretched to fill the empty canvas. The bigger the selection the better. But do not select any part of the image that you do not want stretched (you do not want the horse stretched, in this case, so be sure to not select any part of it).
4. Copy this selection to a new layer. Command-J or Control J. 5. Select the copied layer. Now choose the Free Transform tool under the Edit Menu. Pull across, to the right, from the center right handle to stretch the layer to the edge of the new canvas.
No comments:
Post a Comment