

Last week we learned how to copy a free image from Google Images to use with our Photoshop image.
Today we'll take that image and paste it over our Photoshop image to create a textured layer background.
Click on any image to enlarge.
- Open an image in Photoshop that you would like to add a textured background to.
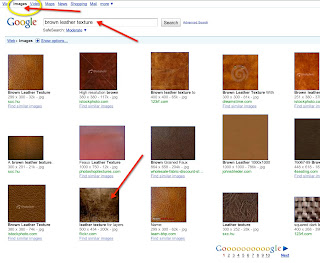
- Find a texture that you like in Google images (or where ever else you'd like) and then copy and paste it onto your already open image in Photoshop. (Ctrl/Cmd V to paste) (See last week's tip on how to find free Google images)
- After you've pasted your texture layer onto your picture in Photoshop select the texture layer and choose Free Transform under the Edit menu (Edit>Free Transform). You'll see the little handles around the edge of the texture image now. Just pull and stretch your texture image to fit over your Photoshop image from corner to corner. You may want to resize your Photoshop image down first if it's much larger than your texture image. (The free downloadable textures from Google are quite small but you can always buy larger higher res files from places like istockphoto.com ...or shoot your own backgrounds!) Once you get the texture layer sized to fit over your Photoshop picture be sure to check the OK box on the menu bar.


- Next we want to change the Blend Mode to Multiply. Be sure your Texture layer is selected and double click the thumbnail texture image to bring up the Layer Style Dialog box. Change the Blend Mode to Multiply. Click OK.

- Your image will be pretty dark with this new layer applied over it but you can lighten it by changing the Opacity slider.
- Since we want the texture to affect just the background we'll add a layer mask to the texture layer and paint over the areas that we DON'T want the texture to show through on. Choose a soft brush and be sure your foreground is set to black. Begin painting. In my case I've painted over the horse because I want it to remain light and without a lot of the background texture on it. You can hit Control/Command J to copy this layer if you'd like to darken the background more after you've finished painting on your mask. Remember that you can "erase" anything that you've painted by changing your foreground color to white. White erases, Black paints.

- That's it!
- Once you get the hang of this technique it will be quite easy to add different background texture layers to many of your images. Have fun!


No comments:
Post a Comment