
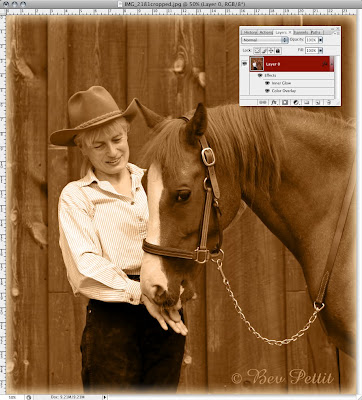
This week we're going to add a sepia tint and a glow border to your image in just a few easy steps using Layer Styles.
First, duplicate your original image. (Image>Duplicate) Double-click your background layer to unlock it so that you can add effects.
Next we're going to add layer styles to your background layer beginning with a Color Overlay.
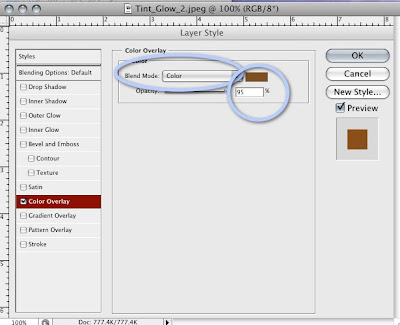
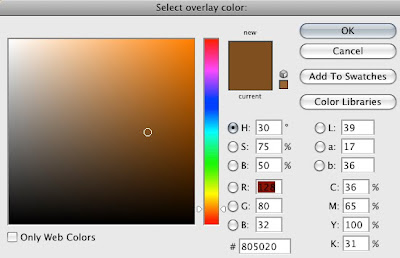
Step 1: At the bottom of your Layers Palette click on the "fx" icon, second from the left, to bring up the Layers Styles. Choose Color Overlay. Change the Blend Mode pop-up to Color. Click on the color swatch and choose a color. In this case I chose a brownish tone of H:30, S:75, B:50. You can also lower the opacity slider a little bit if you like. I lowered mine to 90%.

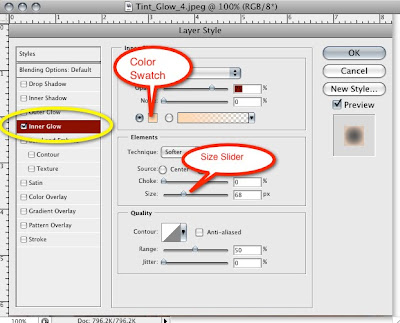
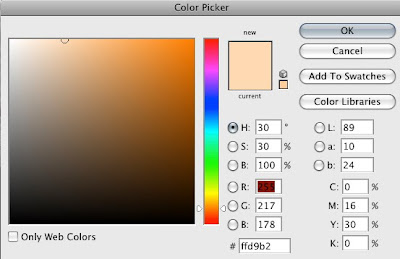
Step 2: Next we want to add an Inner Glow Layer Style for a soft vignette around the edge of the image. While still in the Layer Style dialog box, choose Inner Glow from the options on the left-hand side. Click on the Color Swatch and type in the same Hue setting (H:30) in the Color Picker as we did in Step 1. Play with different saturation and brightness settings until you find one that you like. After you click OK in the color picker, adjust the Size Slider to control the size of your vignette.
No comments:
Post a Comment