Here is a really quick and easy way to get rid of the haze (and a good starting point for your post production work in Photoshop). Click on any image to enlarge.
Here is my original image:
And here is the adjusted image:
And here's what you do:
1. Open your original document.
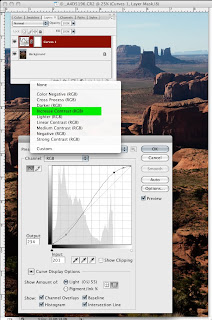
2. Add a Curves Adjustment Layer to your Background Layer
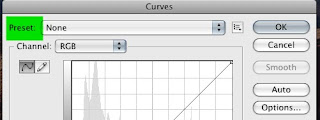
3. From the Curves Adjustment Layer window choose Increase Contrast from the Preset drop down list at the top of the Curves window.


4. From here you can add further Curves Adjustment Layers to adjust the levels of darks and lights selectively in your image on the mask provided with the adjustment layer.
That's it! Quick and easy!


I didn't know about that! Thanks!
ReplyDelete